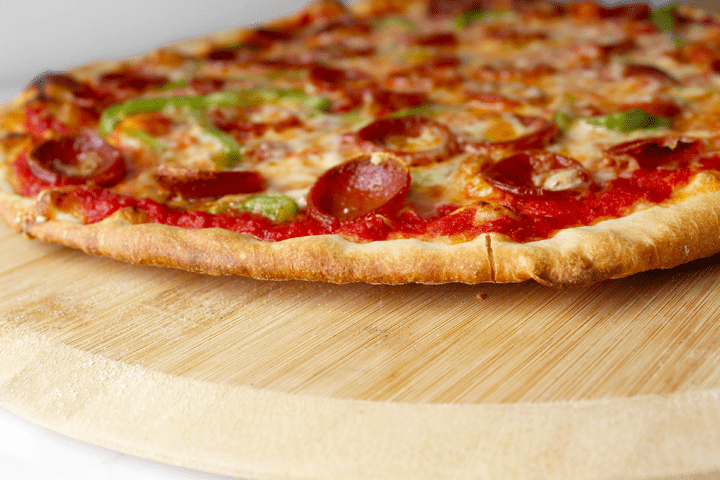
If you like your pizza crust thin and crispy (or if you're looking for a quick dough recipe for busy weeknights), then you've come to the right place. This thin crust pizza dough is easy to make and only requires 15 to 30 minutes of resting time, which means delicious, from-scratch thin-crust pizza's on the table in an hour or less!
The Secrets to Thin Crust Pizza
- Skip the rising time. The fermentation process, also known as the rise, allows yeast to digest the sugars in the flour and produce carbon dioxide and ethanol, which make the dough ball puff up and result in the fluffy consistency we all love in loaves of bread and Neapolitan pizza crust. So, if you want your pizza crust to be nice and thin, your best bet is to give the dough as little fermentation time as possible. In my thin crust pizza dough recipe, I opt for 15 to 30 minutes of resting time; feel free to play around with more or less time depending on your taste and schedule.
- Roll it out. A rolling pin makes easy work of morphing a ball of dough into a super-thin, pizza-size round. Plus, it also smooshes out any bubbles that might form during baking.
- Bake it on a dark metal pan or hot baking stone/steel. Dark metal transfers heat more efficiently than light metal does, so if you're using a baking sheet or pizza pan, choose the darkest one you have. That being said, if you like your thin crust pizza extra crispy, use a preheated baking stone or steel.
How to Make Thin Crust Pizza Dough
Time needed: 45 minutes
This dough is one of the easiest and quickest ones to whip up. Here are the step-by-step directions, complete with handy tips that will help you bake up perfect pizzas every time:
- Preheat the oven (if you're making the pizzas right away).
Since the dough only needs 15 to 30 minutes of resting time, I like to preheat my oven before I start the recipe. If you're using a baking stone or steel plate, put it on a rack in the bottom third of your oven. Preheat the oven to 500°F for at least 30 minutes.
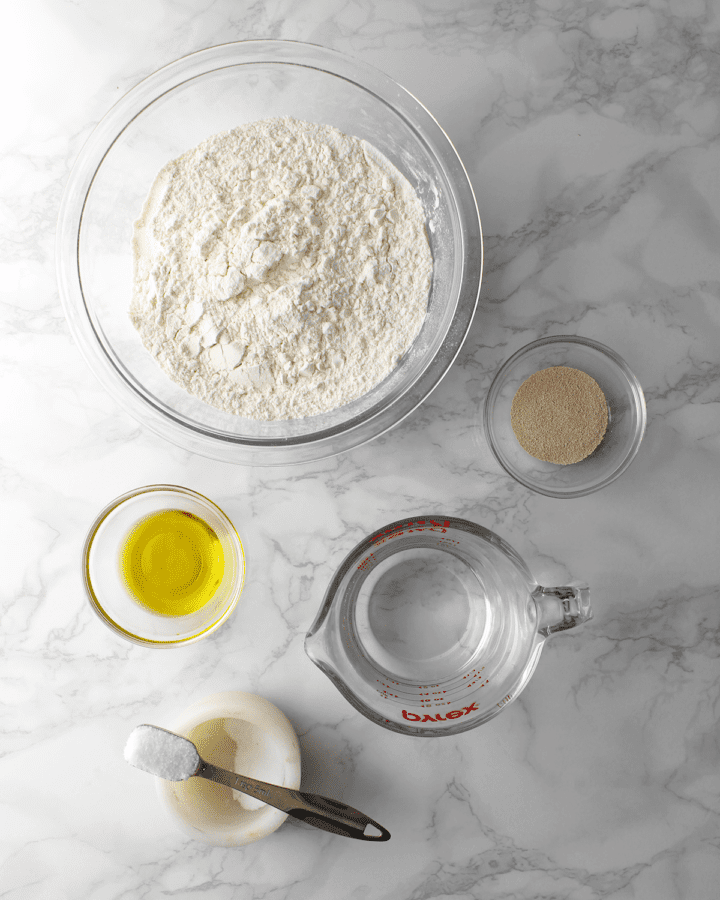
- Mix together flour, salt, yeast, water, and olive oil.
In a large mixing bowl, using a dough whisk or sturdy wooden spoon, mix together the bread or all-purpose flour, fine sea salt, and a packet of instant dry yeast. Then, add a cup of warm tap water and a tablespoon of oil. Mix with the dough whisk or wooden spoon until the dough comes together and most of the flour is incorporated.
- Knead the dough.
Take off your rings and plunge your fingers into the dough. Squish the dough through your fists, then flip it over and keep squishing until all the dry bits are fully incorporated. Next, dust a clean work surface with flour. Knead the dough on the floured surface for about 5 minutes, turning it frequently. You're done kneading when the dough slowly springs back when you poke it gently with your finger.
- Let it rest.
Cover the dough with an upside-down bowl (I use the same one I mixed the dough in, to save dishes). Let the dough rest for 15 to 30 minutes.
- Ball it up.
Divide the dough into 2 to 3 equal-size pieces. If you want to make smaller 10-inch pizzas or like cracker-thin pizza crust, go with 3 pieces. If you want to make 12- to 14-inch pizzas, go with 2 pieces. Form each piece of dough into a ball.
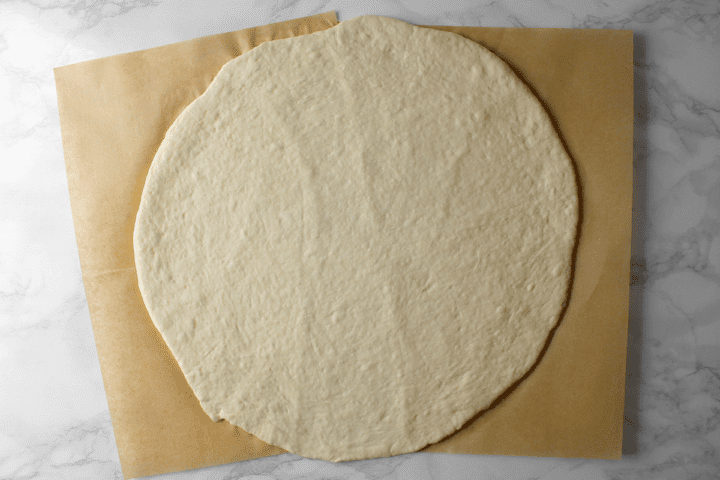
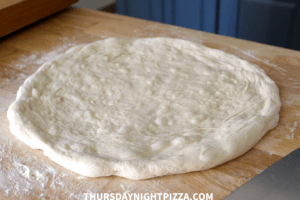
- Roll out the pizza dough.
Work with one ball of dough at a time, keeping the other(s) under the upside-down bowl on your countertop so they don't dry out. Place the dough ball on a sheet of parchment paper, then top with another sheet of parchment. Use a rolling pin to roll out the dough between the parchment to a 10- to 14-inch round, depending on the size of the dough ball and your desired thickness. The parchment prevents the dough from sticking to your rolling pin without the addition of extra flour, which can make the pizza crust too dry. If you like, you can also gently stretch the dough after you've rolled it out. Just resist the urge to add extra flour unless the dough is really sticky.
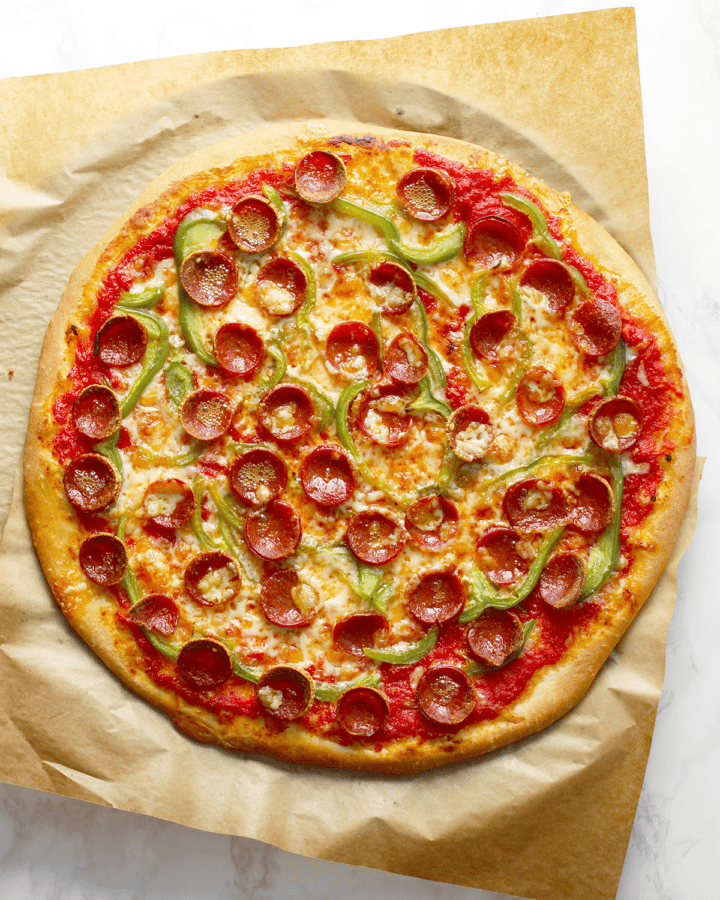
- Top and bake!
Peel off the top layer of parchment paper, and transfer the dough (with the bottom piece of parchment under it) to your baking sheet or pizza pan. Or, if you're using a preheated baking stone or steel plate, peel off both pieces of parchment paper and transfer the thin crust pizza dough to a lightly floured pizza peel or upside-down baking sheet.
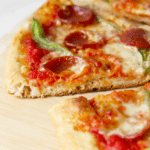
Top the dough with your favorite sauce, cheese, and other toppings (ideas below). Then, transfer the topped dough to the oven and bake until the crust is golden around the edges and evenly browned on the bottom, about 8 minutes on a baking stone or steel, 10 to 15 minutes on a baking sheet or pizza pan.


How to Store Thin Crust Pizza Dough for Later
Not planning to use all that dough? No problem! Mix the dough, knead it, let it rest, and ball it up. But instead of rolling out the thin crust pizza dough, place each ball in a separate airtight container or zip-top bag. Keep the dough in the fridge for up to 2 days or in the freezer for up to 3 months.
When you're ready to use the dough, let it thaw completely (if frozen) and come to room temperature. Then, roll it out and top it according to the recipe below. Bake and enjoy!

Topping Tips
There are no rules when it comes to thin crust pizza toppings. However, I do have some pieces of advice:
- Scale back on sauce. Too much sauce can prevent your thin crust pizza from getting that crispy texture you're dreaming of. So, instead of pouring the sauce on by the cupful, start with about half a cup and add more from there. You always want to be able to see swipes of the naked dough through the sauce.
- Same deal with toppings. Instead of big hunks of cooked sausage, go for thinly sliced pepperoni. And instead of slabs of eggplant, think shaved Brussels sprouts, bell peppers, or spring onions.
- Play with flavor pairings. Since the crust is thin and won't steal the show, this is a great opportunity to test out interesting combos. For example, why not camembert and red grapes; pear, blue cheese, and bacon; or sweet pepper, almond, and manchego?
Thin Crust Pizza Dough
Equipment
- Large bowl
- Sturdy wooden spoon or dough whisk
- parchment paper
- Pizza pan, baking sheet, or baking stone/steel
Ingredients
- 2½ dipped and leveled cups bread flour or all-purpose flour (363 grams), plus more as needed
- 1 (¼-ounce) packet instant dry yeast (2¼ teaspoons)
- 1 teaspoon fine sea salt
- 1 cup warm (100 to 110°F) water
- 1 tablespoon extra-virgin olive oil
- Your favorite sauce, cheese, and toppings
Instructions
- If you're planning to bake your pizza right away, preheat the oven to 500°F. (Make sure your baking stone/steel is on the bottom rack of the oven before you start preheating; if you're using a baking sheet or pizza pan, don't worry about preheating it.)
To make the dough
- In a large mixing bowl, whisk together the flour, yeast, and salt. Pour in the warm water and olive oil and mix with a sturdy wooden spoon or dough whisk until the dough comes together and only a little dry flour is left in the bottom of the bowl.
- Flour your hands, and squish the dough through your fists, flipping and turning the dough in the bowl as you go, until no more dry flour remains. Then, transfer the dough to a floured work surface and knead it for about 5 minutes, folding and pressing the dough down with the heels of your hands, rotating it a quarter turn after each knead, until you have a dough ball that’s smooth, stiff, and slightly tacky, and slowly springs back when you give it a gentle poke.
- Cover the dough with an inverted bowl and let it rest for 15 to 30 minutes.
- Divide the dough into two or three equal-sized pieces, and form each piece into a ball. (If you plan to make 12- to 14-inch pizzas, divide the dough into 2 balls; if you plan to make 10-inch pizzas, divide the dough into 3 balls.)
- Use the dough immediately or store the balls in individual airtight containers or zip-top freezer bags for later; they'll keep in the refrigerator for up to 2 days or in the freezer for up to 3 months. (Just make sure you let refrigerated or frozen dough thaw completely and come to room temperature before using.)
To make thin-crust pizza
- Place a ball of dough between two pieces of parchment paper on your work surface, and roll it out to a 10- to 14-inch circle (depending on the size of your dough ball; the bigger the circle, the thinner your crust will be). If you like, you can also stretch the dough after you've rolled it out a bit; just resist the urge to add flour unless the dough is really sticky. Peel the top piece of parchment off of the dough.
- If you're baking the pizza on a pizza pan or baking sheet, slide the dough with the bottom piece of parchment onto the pan. If you're using a baking stone or steel (which should be fully preheated in the oven by now), peel off the bottom piece of parchment and transfer the dough to a floured pizza peel or upside-down baking sheet.
- Top the dough with about ½ cup of your favorite sauce, ½ to 1 cup of shredded cheese, and ½ to 1 cup of thinly sliced vegetables and/or cured meat. Season with salt and pepper and maybe a drizzle of olive oil, if desired.
- Transfer the topped dough to the oven and bake until the crust is golden around the edges and evenly browned on the bottom, about 8 minutes on a preheated baking stone/steel, 10 to 15 minutes on a pizza pan or baking sheet.
- Remove the pizza from the oven and transfer it to a wooden cutting board. Let it cool for a few minutes, then slice and serve.
Video
Notes
Looking for more pizza dough recipes?
- Browse Thursday Night Pizza's dough archives for inspiration.
- Check out my pizza basics page for tutorials and FAQs.
- Take the pizza dough quiz to find the best recipe for you.


Peter says
Great tips! The thin pizza crust turned out perfect! We use half the dough, and froze the rest for later - perfect to use for an easy dinner later!
Ramona Hardan says
Can you use a bread machine to make the dough?
Peggy Paul Casella says
I'm sure you could! Let me know how it turns out.
Nora says
This is an amazing crust! Thanks for the wonderful tips and the great recipe!
Bryan Jones says
Peggy, I need your help when you can. I made this dough two nights ago, and it came out perfectly. Better than I had expected; local cured ham, fennel, swiss chard, and a few herbs from the garden (I call it a garden, but my neighbors insist that it's a terracotta cat-shaped planter on my window sill). However, tonight I accidentally double-dosed my citalopram and nodded off for a quick moment while the dough was rising. Fastest three-and-a-half hours of my life. Long story endless, I woke up to find the dough ball had outgrown the mixing bowl and expanded onto my Glade Plug-in that is attached to my sole kitchen outlet. (Alas, I knew I should have pushed my landlord harder on replacing the receptacle with a GFI outlet - but non-profit housing management agencies have notoriously tight pockets). I learned the hard way that Korean-made, scented oil is in fact combustible when wholly incorporated in flour, yeast, and Himalayan sea salt. Fortunately, the backsplash is only made of faux subway tiles on contact paper, so the fire extinguished itself as soon as it hit the Formica countertop. Needless to say, my George Forman grill is now entirely defunct, leaving me - not only without dough - but also a heating element. I know that you once made pizza on a campfire, but I am wondering if you know how many pounds of recycled newspaper may reach the proper smoke point to bake your dough (thin crust, not gluten-free...thank you Peggy!).
Peggy Paul Casella says
Wow, Bryan. Not sure how to help you there. Maybe it's time to order out?
Phil Minor says
2 1/2 cups of flour is 300 grams not 400.
Christeen says
LOVE this dough recipe!! Came out absolutely perfect! Used your white pizza leeks and bacon recipe to top it, so delicious!
Peggy Paul Casella says
I'm so happy to hear that!
Mark says
Hi Peggy does the 400g make any difference to comment of 300g? Cheers
Peggy Paul Casella says
I measure my flour by dipping and leveling, as noted in the recipe, and that came to 400 grams. It should work great as written. Let me know!
Matthew D says
Hey - would this be suitable in an ooni and if so,any tips on stone temp and cooking time please?
Peggy Paul Casella says
Yes, you can use the Ooni for this. Just heat it to the same temperature as it states for a regular oven.