
Everything you need to know to go from stiff, stubborn dough ball to perfectly shaped pizza crust—no tossing required.
Table of contents
If there's one part of the homemade pizza process that trips people up, it's this one. Not the dough-making. Not the sauce. The stretching.
You've done everything right. You made your dough, you let it rise, you pulled it out of the fridge. And now you're standing at your counter with a cold, tight lump of dough that keeps snapping back like a rubber band, no matter how lovingly you coax it. Maybe you get it to stretch but then it rips right in the center. Maybe, despite your best efforts, your stretched-out dough looks less like a pizza and more like a map of Italy.
Been there. Done that. Have the misshapen pizzas to prove it.
Here's the thing: stretching dough is a skill, and skills take practice. But there are some simple rules that can help you bypass the biggest pitfalls, and once you understand what's actually happening inside the dough, you can fix most problems before they start.
Let me walk you through the process, one step at a time.
What makes pizza dough stretchable?
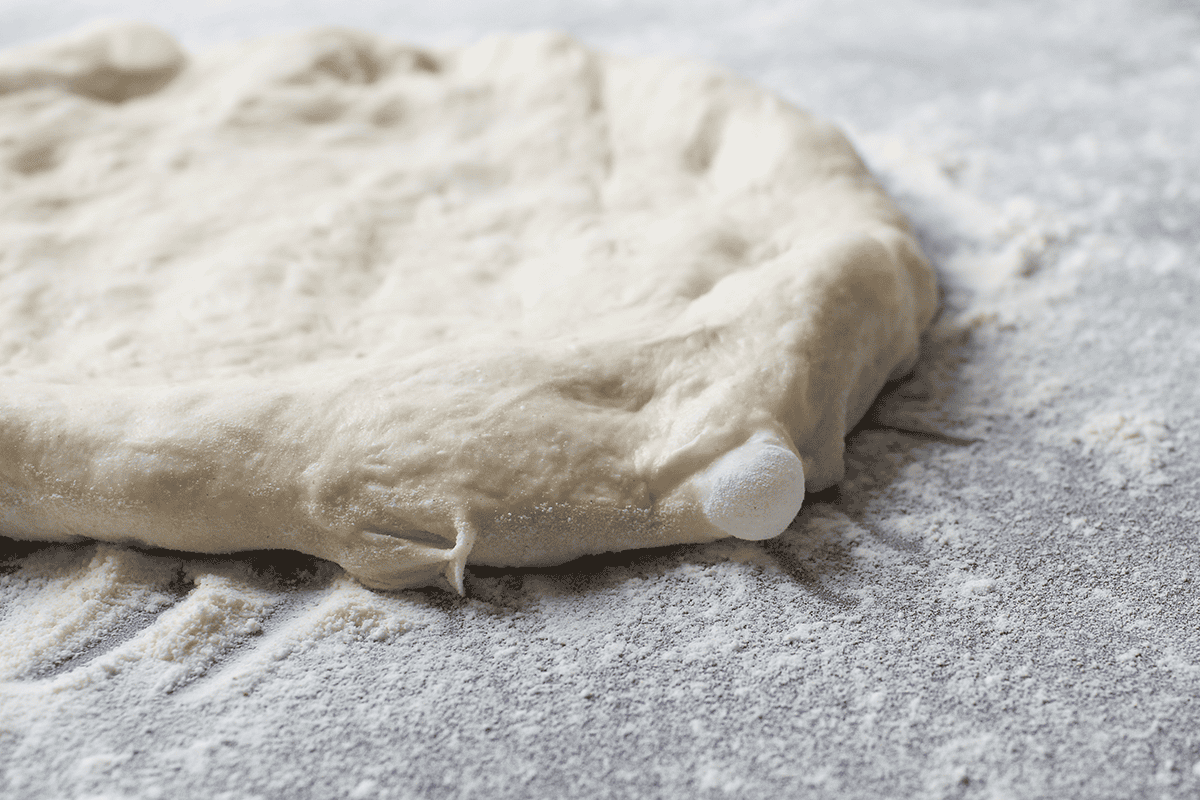
First of all, only relaxed dough will stretch. (We can all relate there.)
Here's why: Flour contains two main proteins, glutenin and gliadin. When you hydrate the flour (mix it with water), those proteins change their shapes and link together to form an elastic, net-like formation called gluten. And in recipes like pizza dough, where yeast is added to interact with the sugars in the flour and create carbon dioxide, the gas gets trapped in the gluten network and causes the dough to expand (rise) as it ferments (rests).
The tricky thing is getting that gluten network just right. Kneading helps strengthen gluten so it can hold the CO2 gas inside to create those perfect crust bubbles you know and love, but just like your body needs to cool down after a rigorous workout to prevent cramping or muscle pulls, pizza dough needs to rest after mixing and kneading so its gluten network is loose enough to stretch without breaking.
Then, of course, there's temperature to consider. Many doughs (like Neapolitan and New York–style) get their superior elasticity from long ferments in the refrigerator. (Cold temperatures slow the process, allowing gluten networks to develop naturally without the fear of overfermentation.) The problem is that cold typically makes things rigid, not pliable, so with these recipes you'll need to build in extra time to bring the dough to room temperature before stretching.
First Things First
To set yourself up for stretching success:
- Choose the right recipe—and follow the instructions. The longer a dough ferments, the more relaxed its gluten network will be. So, if you're nervous about stretching dough, choose a recipe that's bound to be nice and pliable, such as Overnight, Neapolitan, or New York–style. If 1-Hour Pizza Dough is your go-to, just add an extra hour to the first (bulk) rise, then ball it up and let the balls rest under an upside-down bowl for another 30 minutes or so before stretching.
- Knead the dough only as instructed. There's a reason my recipes give specific instructions for mixing and kneading. If you work it too much, the gluten network may become too rigid, resulting in dough that springs back when you try to stretch it out.
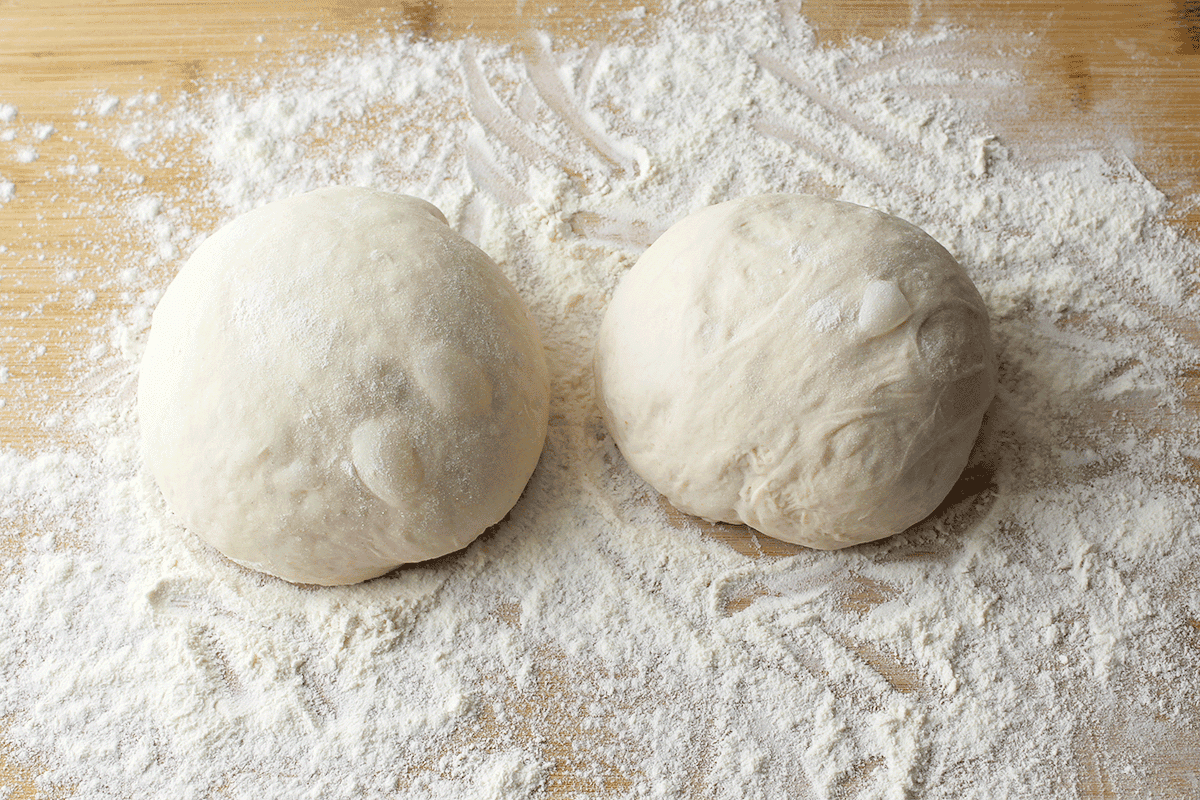
- Start with room-temperature dough. Take refrigerated dough out of its container, ball it up, put it on a floured surface, and cover it with an upside-down bowl 1 to 3 hours before you plan to stretch it for pizza. If it feels cold, it'll be difficult to stretch.
How to Stretch Pizza Dough, Step by Step
1. Make sure your dough is at room temp.
If your dough was refrigerated, take it out of the fridge and let it sit on the counter under an upside-down bowl for 1 to 2 hours or until it comes to room temperature.
2. Preheat the oven and stone or steel (if using).
Place your baking stone or steel plate on the center rack of your oven and preheat to 550˚F, then switch the oven setting to Broil on high. If you don't have a baking stone or steel plate, preheat your oven to 500˚F with a rack in the center position and grab a dark metal pizza pan or heavy duty large baking sheet.
3. Dust a clean work surface with flour.
I use a large marble slab, but any big cutting board or empty span of countertop will work great. Use the same flour called for in your dough recipe—or all-purpose, bread, or "00" flour if you've got a ball of store-bought dough. Think dust, not dump. You need just enough flour to keep the dough from sticking to your surface; start with less than you think and add more as needed.
4. Even it out.
Use your fingertips to pat the ball of dough into a flat round that's 4 to 6 inches in diameter, pressing from the center outward. This will help maintain an even thickness as you stretch.
5. Turn it like a steering wheel.
Once you have a thick, flat disk of dough, pick it up with both hands at the top edge. Hold it there briefly, allowing the dough to sag down from your hands, then move your grip in a clockwise direction, slowly rotating the dough like the steering wheel of a car (with your hands at 10 and 2, just like you learned in driver's ed), until you have a nice circle shape that's somewhere between 8 and 10 inches in diameter.
6. Drape it over your fists and/or forearms.
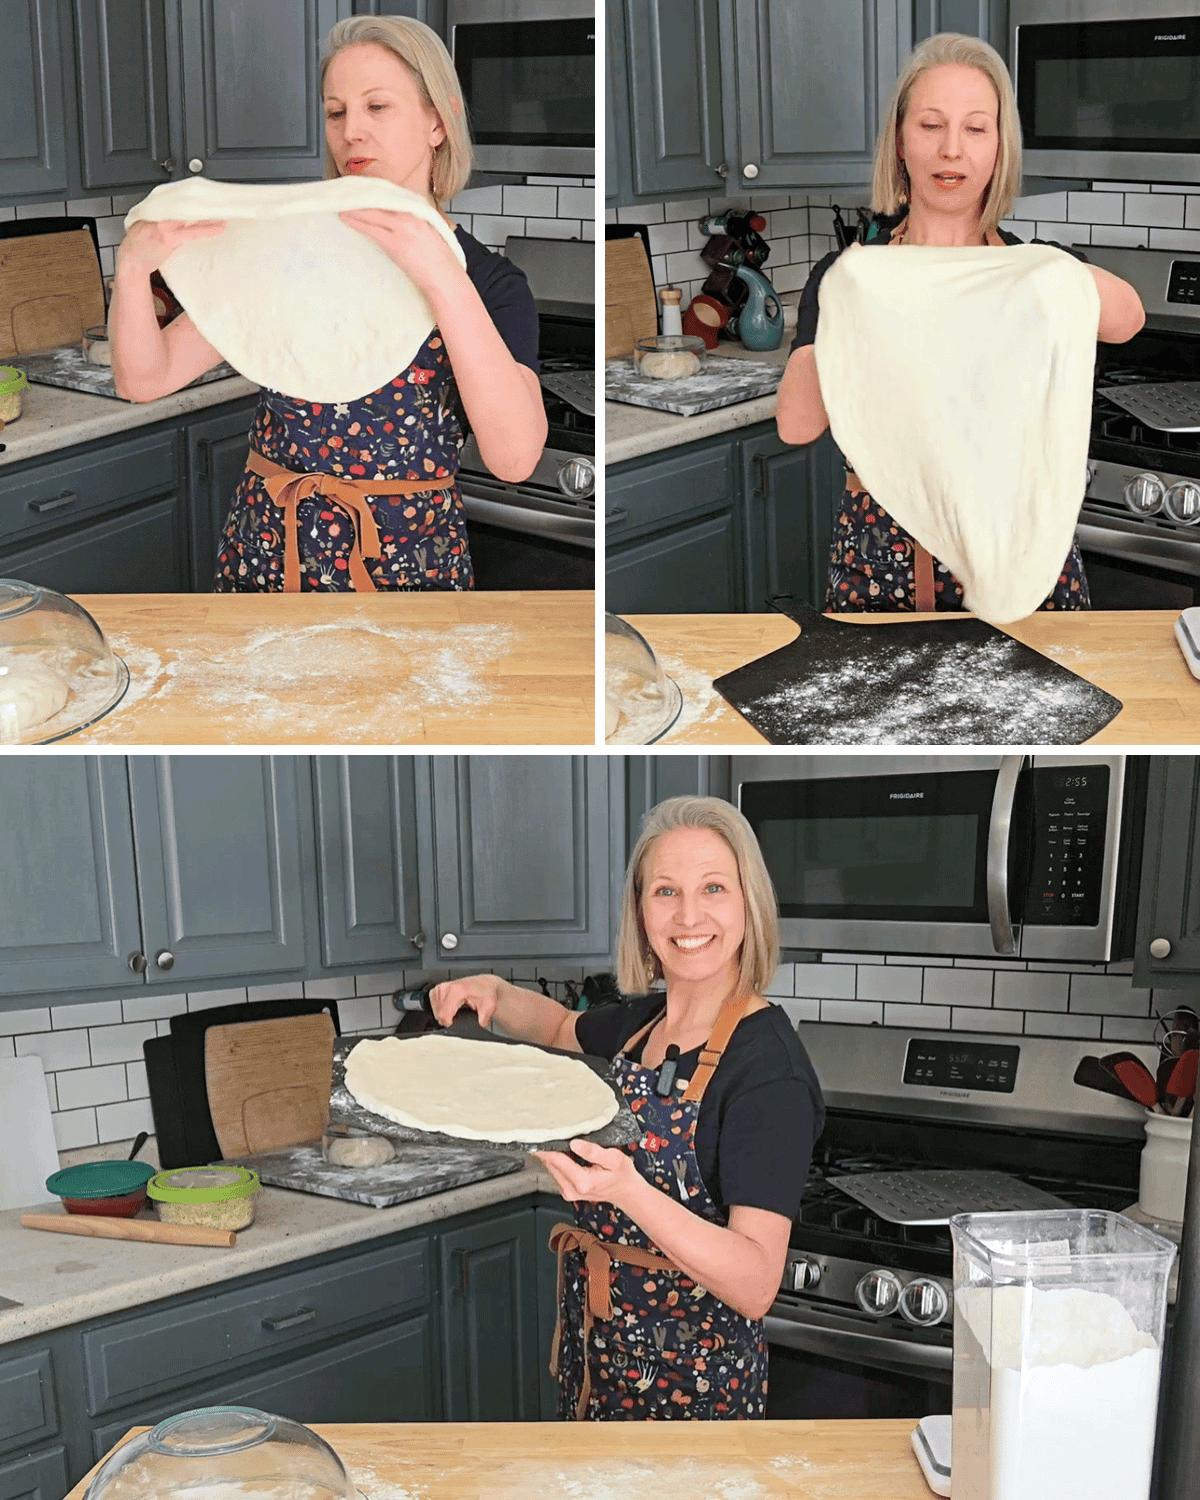
Take off your rings, make a fist with one hand, and lay the dough over top so your fist is in the center. Then, ball up your other fist and bring it next to your other one under the dough. Very slowly separate your fists, allowing the dough to stretch between them. Rotate your fists under the dough and repeat, spending extra time with any parts of the dough that seem thicker than others. If it's more comfortable or if you're worried about ripping the dough with your fists, drape it over your forearms and stretch it that way. (Watch the video demo if you're a more visual learner.) Keep going, nice and slow, and Zen-like, until the dough reaches your desired diameter. I usually go for 12 to 14 inches.
7. Finish shaping on the counter.
Lay the stretched-out dough on your floured counter top or work surface, check that it's the size you want, and gently stretch out any thicker spots or misshapen sections. (Again, watch how I do this in the video demo.)
8. Transfer, top, and bake.
If using a baking stone or steel plate: Sprinkle a pizza peel lightly with flour and lay the stretched-out dough on top. Add sauce and whatever other toppings you like, then shimmy the topped dough onto the hot stone or steel in the oven and bake until the bottom is evenly browned all the way across and the crust is golden and charred in spots, 5 to 7 minutes.
If using a pizza pan or baking sheet: Lay the dough on the pan, add your toppings, and bake for 7 to 12 minutes, until the bottom is evenly browned.
What Can Go Wrong + How to Fix It
The dough keeps springing back.
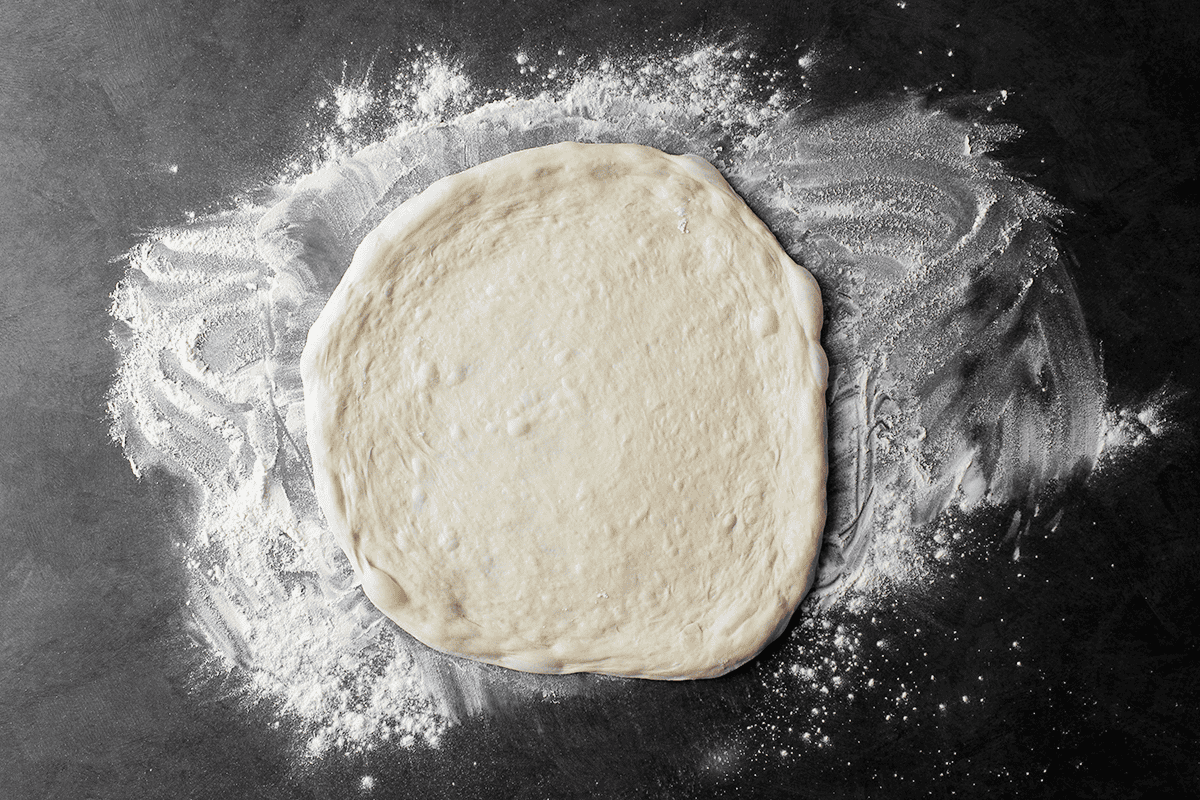
This is the most common problem, and the fix is simple: Stop, cover the dough with an upside-down bowl, and walk away for 10 to 15 minutes. Gluten that's been worked needs time to relax before it'll stretch again. Don't try to muscle through it. You will lose that battle.
The dough tears.
It happens. Pinch the hole closed or take a small piece of dough from the edge (somewhere it won't be missed) and press it over the tear, pinching it gently to seal. Then let the whole thing rest for 5 minutes before continuing. The patch won't be pretty, but it'll hold.
If your dough always seems to tear, it's usually a sign that it's either too cold or was overworked during mixing. Next time, pay extra attention to the recipe and make sure the dough is at room temperature before using.
The pizza is shaped like an amoeba.
Some irregularity is normal and fine. If it's really lopsided, it usually means you're stretching more in one direction than another—which happens when you forget to rotate. Build the rotation habit into your stretching from the start, and your shapes will improve.
Also, a slightly oblong pizza tastes exactly the same as a round one. Just saying.
The dough sticks to the counter.
Lift it up, dust a little more flour underneath, and keep stretching. If it's sticking severely, your measurements might be a bit off. Next time, pay careful attention to the recipe!
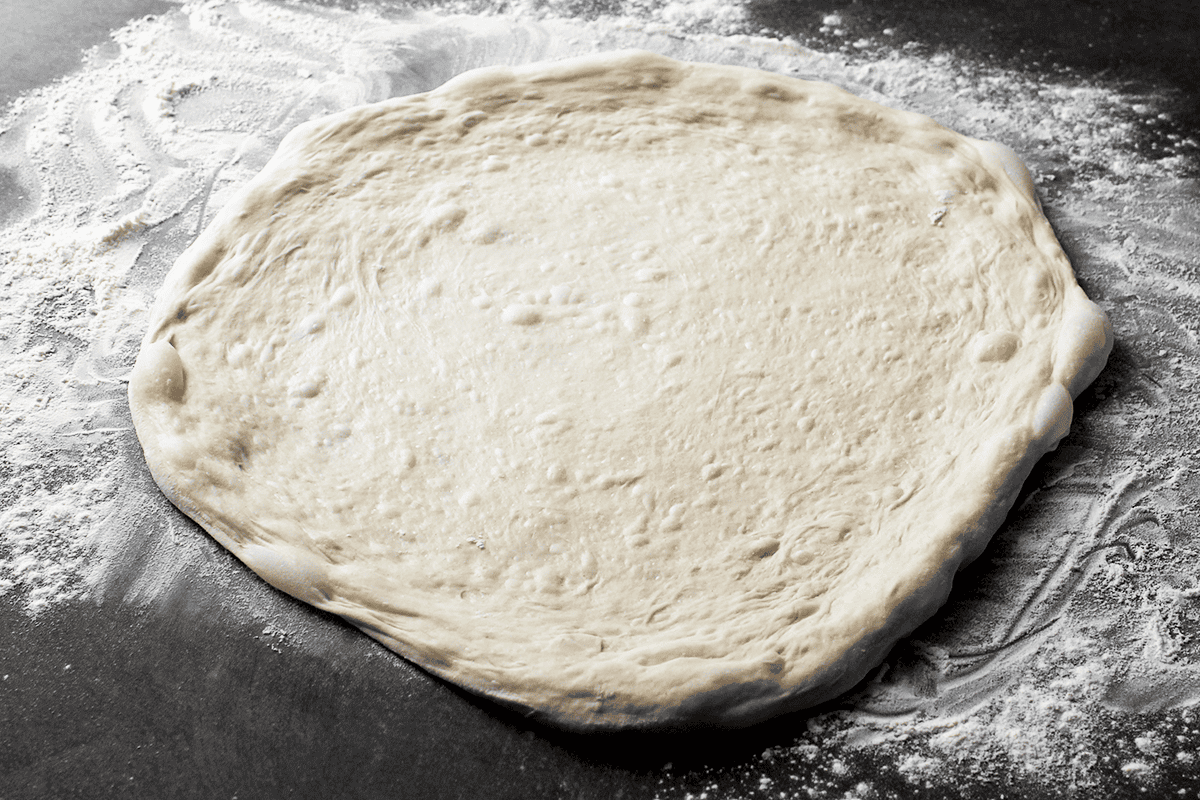
Stretching dough is one of those things that feels awkward the first few times and then, suddenly, clicks. After a few dozen Thursday nights, your hands will know what to do before your brain catches up. That's the goal.
If you're new to homemade pizza and looking for a dough to practice on, I'd start with my Overnight (a.k.a. Slow-Rise) Dough—it's easy to make, forgiving, and ferments at room temperature, so you won't have to add that extra step of warming it up. Once that feels comfortable, try the Sour Dough version for a little more complexity. And when you're ready to really push yourself, the Neapolitan is waiting.
Good luck out there. You've got this.
For more detailed advice, tips, and recipes for making pizza at home, check out my new book, Pizza Rules. (Get a signed copy here!)



Leave a Reply